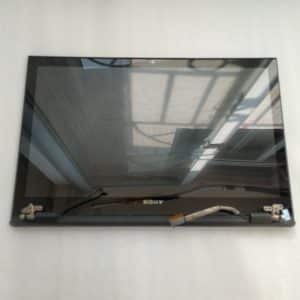
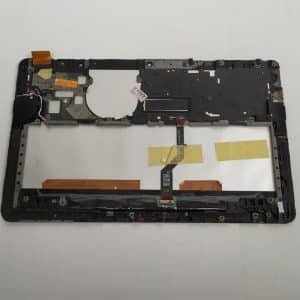
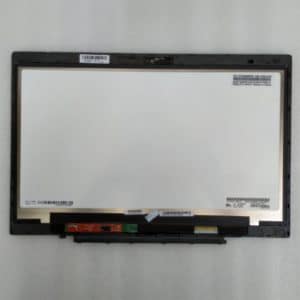
How to remove the laptop screen assembly?

The laptop screen assembly is the lcd screen with touch screen.The laptop screen assembly is a part of the computer, which is mainly used to display the image and text information of the computer. It displays images through liquid crystal display or matrix LED display. The image on the screen is generated by a hardware system composed of a computer graphics processor and a graphics card, and connected to the motherboard through the data line of the screen. Images on the screen can be used for text editing, image editing, video playback, games and other applications. The quality and resolution of the screen are also important indicators of computer performance.
How to remove the laptop screen assembly?
The removal method of laptop screen assembly varies with different computer models. However, the usual steps are as follows:
Turn off the computer and disconnect the power.
Find the screw on the screen frame and gently release it with a screwdriver.
How to remove the laptop screen assembly?
Find the connector between the screen and the host, and gently pull it out according to the instructions.
Gently lift the screen and remove it from the host computer.
How to remove the laptop screen assembly?
Please note that before removing the laptop screen assembly, it is recommended to read the manual or online tutorial to ensure correct operation, and do not use excessive force to prevent damage to the screen or other components.Some touch screen could depart from the lcd screen. Some could not(need machine to depart the touch screen with lcd screen). If you don’t have machine,please don’t depart is yourself.Or it will be difficult to put the them together.

