How to replace strip light led of LED TV?
Replacing the LED strips in an LCD TV can be a delicate process and requires some technical knowledge and the proper tools. If you’re not familiar with electronics and repairs, it’s recommended that you seek the assistance of a professional technician.

However, if you are comfortable with the process, here are the general steps to replace an LED strip in an LCD TV:
- Disconnect the power source: Before you start any repairs, make sure that the TV is unplugged and disconnected from any power source.
- Remove the back cover: Using a screwdriver, remove the screws that hold the back cover of the TV in place and carefully remove the cover.
- Locate the LED strips: The LED strips are located behind the LCD panel and are usually connected to the TV’s main board.

- Detach the old LED strip: Gently remove the connections from the old LED strip and set it aside. Be careful not to damage the connections or any other components in the process.
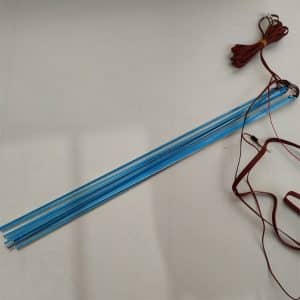
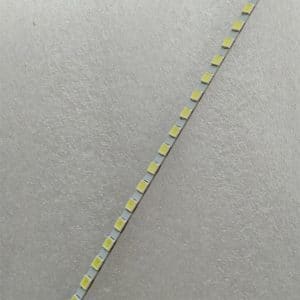
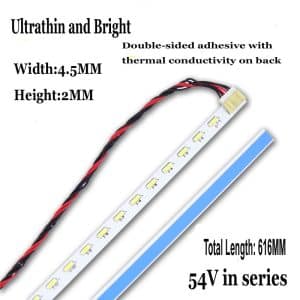
- Install the new LED strip: Connect the new LED strip in the same way as the old one and make sure that it’s securely in place.
- Reassemble the TV: Once the new LED strip is installed, carefully reattach the back cover and screws.
- Test the TV: Plug the TV back in and turn it on. Make sure that the new LED strip is working properly and that there are no issues with the picture quality.
How to replace strip light led of LED TV?
Note: The exact process for replacing an LED strip in an LCD TV may vary depending on the TV’s make and model. Before attempting any repairs, it’s important to consult the TV’s manual or the manufacturer’s website for specific instructions and warnings.
